
A pool that loses more than a quarter inch of water per day through evaporation alone is suspicious. A pool that loses an inch or more has a problem. But confirming that you have a leak is the easy part. Finding where the water is escaping is where most pool owners get stuck.
The bucket test tells you whether you are losing water to evaporation or to an actual leak. It does not tell you where the leak is, how big it is, or whether it is getting worse. Once the bucket test confirms a leak, you need a different set of tools and techniques to track it down.
The Bucket Test Done Right
Before moving to more advanced detection, make sure your bucket test is set up correctly. A poorly executed test gives false results that send you looking for a leak that does not exist.
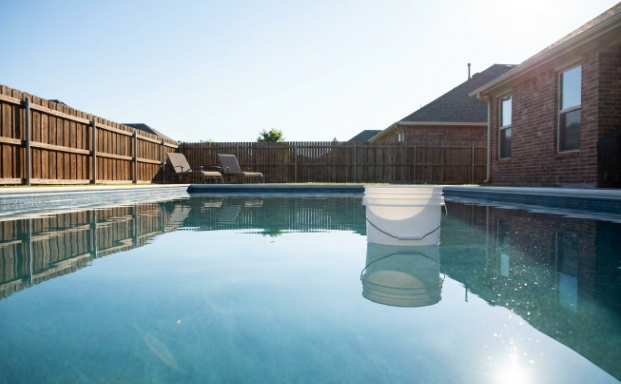
- Fill a bucket with pool water to about an inch from the top
- Place the bucket on the first or second step of the pool so the water level inside and outside the bucket are roughly equal
- Mark the water level on both the inside and outside of the bucket with a piece of tape or a waterproof marker
- Turn off the pump and let the pool sit undisturbed for twenty-four hours
- Compare the water level drop inside the bucket to the drop outside
If the pool water dropped significantly more than the water inside the bucket, you have a leak. If both levels dropped by the same amount, the loss is evaporation. The key is equalizing the water temperature and exposure, which is why the bucket must sit in the pool water rather than on the deck.
Narrowing Down the Location
Once a leak is confirmed, the next step is determining whether it is in the pool structure or in the plumbing system. This distinction matters because the repair methods and costs are completely different.
Turn off the pump and let the pool sit for a day. If the water level continues to drop with the pump off, the leak is in the pool structure. If the water level stabilizes when the pump is off but drops when the pump is running, the leak is in the return plumbing under pressure.
If the water level drops only when the pump is running on filter mode but not on recirculate, the leak is likely in the filter or the pipes connected to it. Each of these patterns points to a different part of the system.
Where Structure Leaks Hide
Structural leaks most commonly occur at penetrations through the pool shell. Any opening in the wall or floor that was cut for a fitting is a potential leak point, because the seal between the fitting and the shell is the weakest part of the structure.
- Skimmer throats where the plastic meets the concrete or gunite
- Return fitting housings where the threaded insert meets the wall
- Light niches where the conduit passes through the shell
- Main drain assemblies at the bottom of the pool
Hairline cracks in plaster pools are another common source. These cracks are often too small to see clearly but large enough to let water seep through constantly. They tend to form at stress points where the shell meets a fitting or where the floor meets the wall.
Vinyl liner leaks occur at seams, around fittings, and at puncture points. A small tear in a vinyl liner can be nearly invisible from the pool side but will let water escape steadily. Liners that are approaching the end of their lifespan become brittle and develop multiple small leaks that are difficult to find individually.
The Dye Test
The dye test is the most effective low-tech method for locating a structural leak. It works on a simple principle: water carrying dye will be drawn toward any opening where water is escaping. For anyone wondering how to find pool leaks without expensive equipment, the dye test is the starting point that often solves the mystery.
With the pump off, squeeze a small stream of dye near any suspected leak point. If there is a leak at that spot, the dye will be pulled toward it and disappear into the opening. If there is no leak, the dye will drift slowly in the still water without being drawn in any particular direction.
Test each fitting, each visible crack, and each seam systematically. Start with the most common leak points and work your way through the less likely ones. The dye test is most effective when the water is calm and the leak is active, which is why you should keep the pump off for at least an hour before testing.
Pressure Testing the Plumbing
If the bucket test and the pump-on-off test point toward a plumbing leak rather than a structural one, pressure testing isolates which section of pipe is failing.
A pressure test involves plugging one end of a pipe run and pressurizing the other with air or water. If the pressure holds, that section is intact. If the pressure drops, there is a leak in that section. By testing each run individually, you can narrow the leak to a specific pipe.
Pressure testing requires specialized plugs and gauges that most homeowners do not own. It also carries some risk of damaging pipes if the pressure is too high. For most pool owners, this is the point where calling a professional leak detection service makes more sense than continuing to diagnose on your own.
When to Call a Professional
Some leaks are straightforward to find and fix. A leaking skimmer faceplate or a visible crack in the plaster can be identified with a dye test and repaired with basic materials. But many leaks are not so cooperative.
Underground plumbing leaks require electronic detection equipment that tracks the sound of water escaping under pressure. Structural leaks below the waterline in deep pools require diving equipment to inspect.
Acting Quickly Matters
A small leak does not stay small forever. Water escaping through a crack or a failed seal erodes the surrounding material, gradually enlarging the opening. In concrete and gunite pools, escaping water can wash away the soil behind the shell, creating voids that eventually cause structural settlement and cracking.
In vinyl pools, a small puncture becomes a larger tear as the liner flexes under water pressure. The longer the leak runs, the bigger the tear gets, and the more expensive the repair becomes.
The bucket test takes a day. The dye test takes an hour. Pressure testing takes a few more hours. Together, these steps can locate most leaks within a weekend of work. Compare that to the cost of ignoring a leak for months while it damages the surrounding soil, erodes the shell, and runs up your water bill. The math is not complicated.
Find it early. Fix it while it is small. The alternative is always more expensive and more disruptive than the detection process itself.